
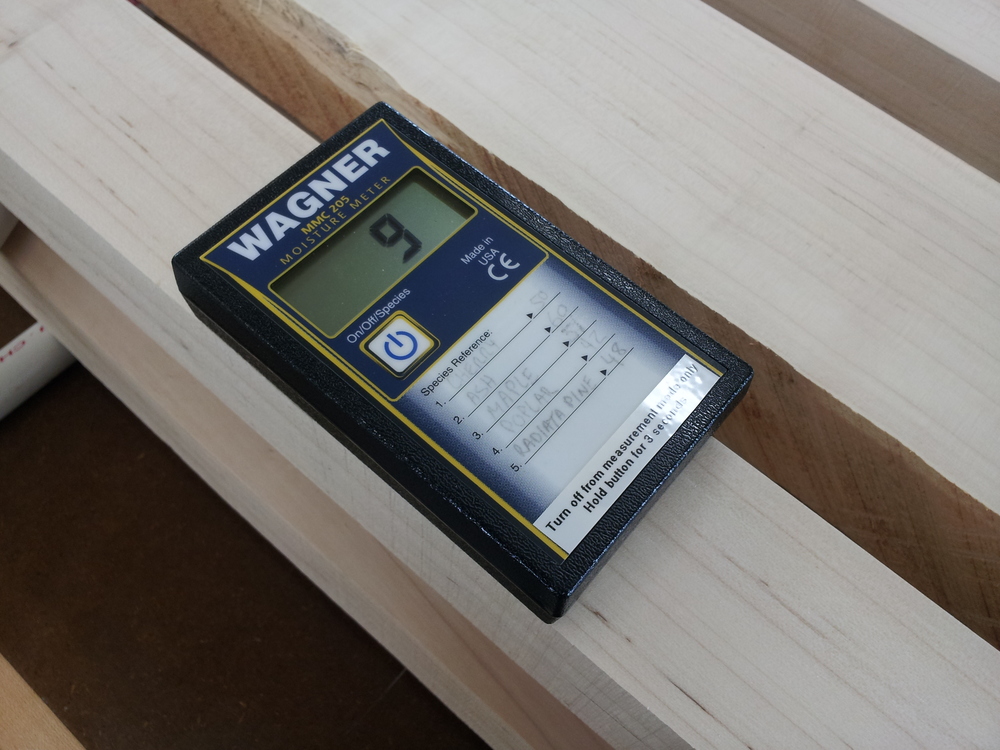
Today I started out by checking the squareness and moisture content of the roughly milled parts for the workbenches. None of them had moved that I could perceive. The moisture content had dropped about 1% since I brought the stock into the shop. At 9% I shouldn’t have any issues with unexpected wood movement.
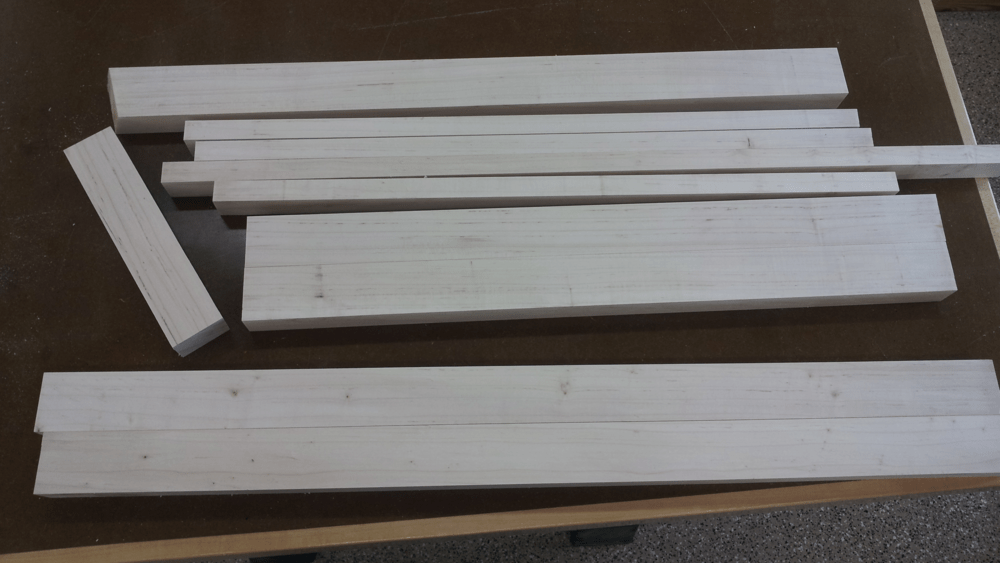
I re-jointed all the parts and then started planing all the stock down to the specified 1 5/8″. As I was preparing to rip the parts to width I noticed that the first piece wasn’t sitting flush up against the table saw fence. Not by much, less than 1/32″, but it should have been right against the fence. Time to investigate. A quick check revealed that the edges were not square to the faces of the parts. I went to the jointer to check it and sure enough, the fence was out of square to the bed and I know just how it got that way. Last night I had a just few minutes to sneak out to the shop. My jointer has a knick in the knives and I really wanted to do something about it before the final milling of these pieces. I loosened the retaining bolts for one of the blades just a little and moved the knife over about 1/32″ – just enough to eliminate the bead from the knick. However, the knife was a little tighter than I expected so I pried it over by using a curved paint can opener. You guessed it – I pried against the bottom of the jointer fence with enough force to move it out of square just a bit. An easy fix.
I set the jointer to take about 1/32″ off and re-jointed the stock. Back to the table saw. I ripped all the long parts to the specified widths.
About this time I started having second thoughts about making a longer version of the bench. The front piece of the face vise is only 1″ x 1 5/8″. Making it longer would significantly increase the chances of breaking it if someone screws the vise screws too tightly. I decided to cut those pieces down and go with the standard dimensions.
After cutting those pieces down I cut the spacer blocks and the block for the wagon vise. Not including the screws and their handles this bench has only seven parts.
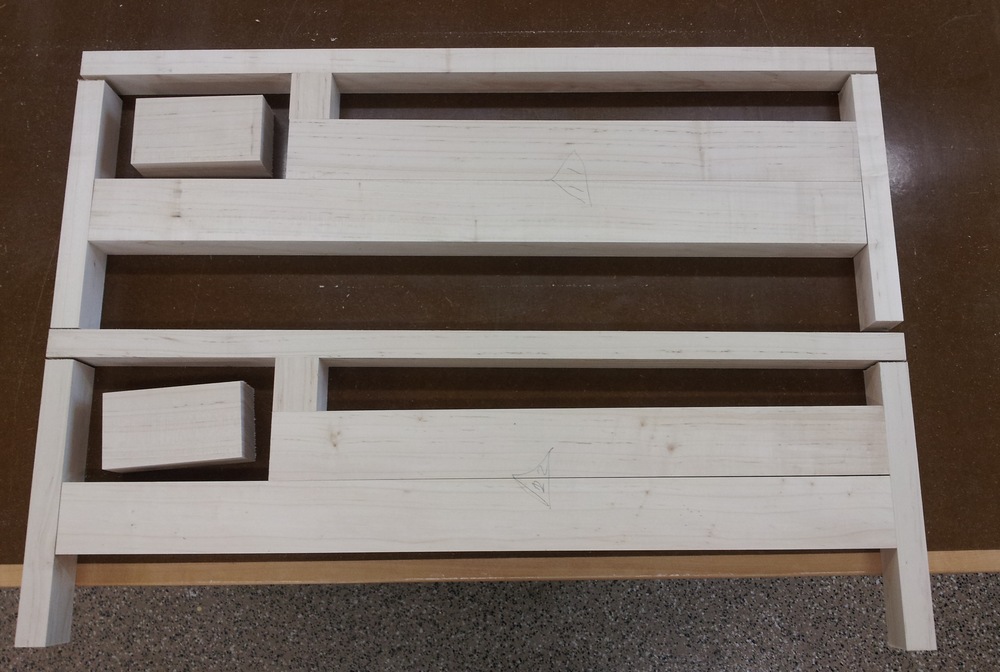
I cut the end pieces long. So, if I screw up the bridle joint I can just cut it off and try again. After I have a perfectly fitting joint I’ll cut them to the proper length.
I intend to outfit these benches with round dog holes, as Chris mentioned in the article, so that significantly simplifies things. Next week I’ll work on the bridle joints and the wagon vise.

I am anxious to make this bench. I have a FWW new fangled workbench and the use of pipe clamps as a vice just hasn’t worked for me. Will you use the woodscrews or go with metal screws? It seems the threadboxes are proving to be of poor quality per Chris Schwarz.
LikeLike
I’ll be using wooden screws. Chris has lent me his Beall Tool Company thread cutting kit for this project. The threadbox that Chris refers to in that blog post is a "Made in Taiwan threadbox that is available everywhere", not the Beall Tool Company thread cutting kit that he has praised previously. I suppose you could convert this bench over to use metals screws, but it would be a serious weight increase which could affect the portability. Thanks for reading!
LikeLike
Thanks. The Beall kit looks sweet.
LikeLike