
When I got my Powermatic 15HH planer last summer I was overjoyed. The Shelix head provided an incredibly nice surface with no tearout whatsoever. However, after planing a few boards I was disappointed that I was getting a little snipe on both ends of the boards. I read through the manual again for any clues and stumbled upon one sentence that referenced a pair of table locking knobs that were on the left side of the planer (as viewed from the infeed table). All the other controls are on the right side. I locked down the knobs and with tremendous anticipation fed another board through the planer. Voila! No snipe! Now I was a happy camper.

However, after a few months I began to tire of having to reach around the ‘other’ side of the planer to tighten those knobs. Especially since that side of my planer is right up against the back of my jointer. It didn’t help that the front knob was nestled between the bottom of the mounting plate for the power switch box and the drive belt cover. Often I would scrape a knuckle on that plate while turning the knob. I had to fix it.
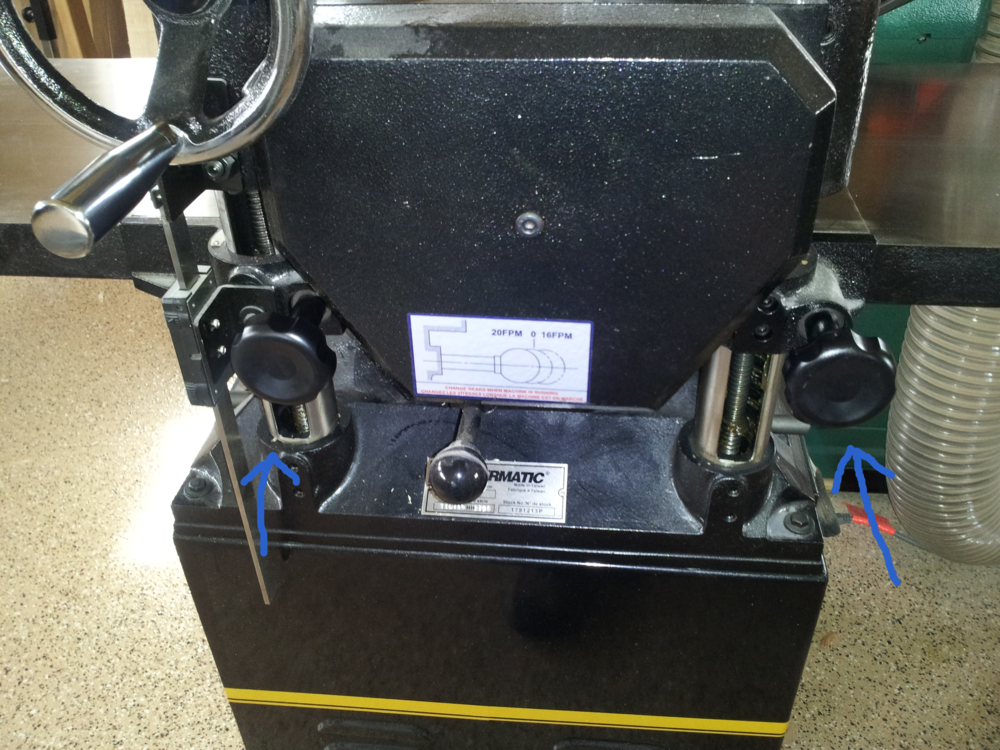
I decided to move the switch box forward to provide more room around the knob so I could easily reach it. Moving it up wasn’t an option due to lack of cord. I acquired a 4 1/2″ x 5″- 8 gauge piece of aluminum. Just as I was measuring to drill the holes in the aluminum I had an idea. I decided to see how these knobs worked. This part of the planer was already assembled when it arrived so I didn’t get to figure it out while assembling it. When I unscrewed the knob completely I discovered that it was simply a threaded rod running between two tapered bushings that would pinch against the columns when you tightened it down. I also discovered that the entire setup was completely reversible! So within a few minutes I had both rods reversed and the knobs were now on the same side as all the other controls.
The front knob is now pretty close to the digital readout, but it’s so much more convenient than reaching around to the other side that I can live with it – at least until I replace the readout with the nice Wixey WR550 Remote Readout that mounts up on top in plain sight.
I love when something ends up being that simple. Sometimes the best days in the shop don’t even require you to cut wood.

Thanks for posting this. As I usually over think things, I have been trying to figure out how to make a pneumatic locking actuator so I could lock and unlock this with a foot switch. Reversing the sides of the knob is a good first step though.
LikeLike
THANKS, HAVE SAME PROBLEM AND THIS SHOULD FIX IT.
LikeLike